Round Corners in Photoshop

Using round corners on images seems to be the norm these days for designers. The sleek appearance is a sought after effect by novices and experts alike, so let's look at how to create rounded corners in Photoshop.
If you don't have Photoshop, you're not out of luck - try RoundMyCorners.com or RoundPic.com - both are excellent web-based services to add curved-corners to images and get rid of those boxy-looking corners once and for all.
Creating Rounded Edge Corners for Rectangles and Squares in Photoshop
I'm working in an older version of Photoshop but it's the process that is important here. The first thing we'll need is an image.

Open the image to be modified and the layer palette (if it's not already open). Create an additional layer with no background.
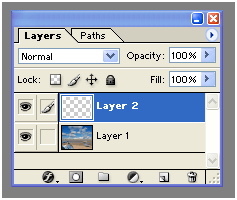
Using the rounded rectangle tool, we need to draw a rectangle on this layer.
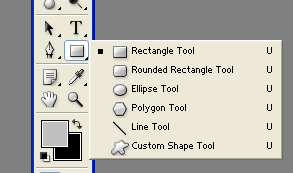
The color of this rectangle is not important. What is essential to remember however is that whatever is under this layer will be in the image, so if you've got text or an important part of the image, make sure it will be seen.
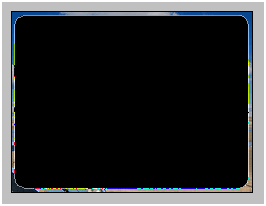
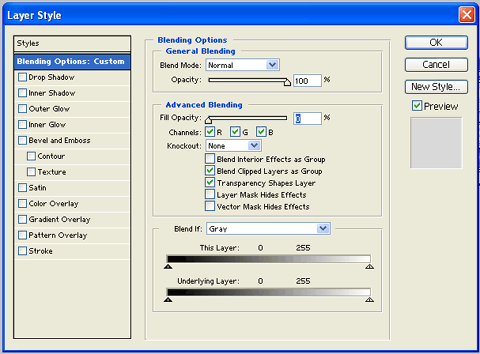
Double Click on the layer you just created. This will open up the Layer Style dialog box. In the advanced blending area, set the "fill opacity to 0%.
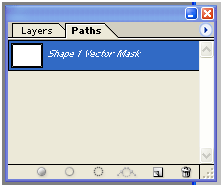
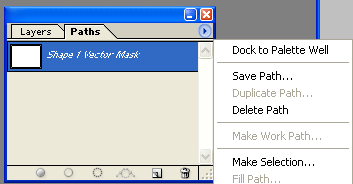
Return to the layers palette, and select the Paths tab - see image below. Choose the "Make Selection" option. Make sure the feature radius is at 0 pixels and anti-aliased is checked. Select OK and you are moment away from rounded corners for your image.
With the selection still pending action, go to Edit, and select Copy Merged. Create a new document (don't change the dimensions) and paste it in - you've got rounded corners for an image. Well done!


Subscribe to Our Newsletter!
Latest in Web Design


